
What File Format Do I Need for Screen Printing? A Complete Guide
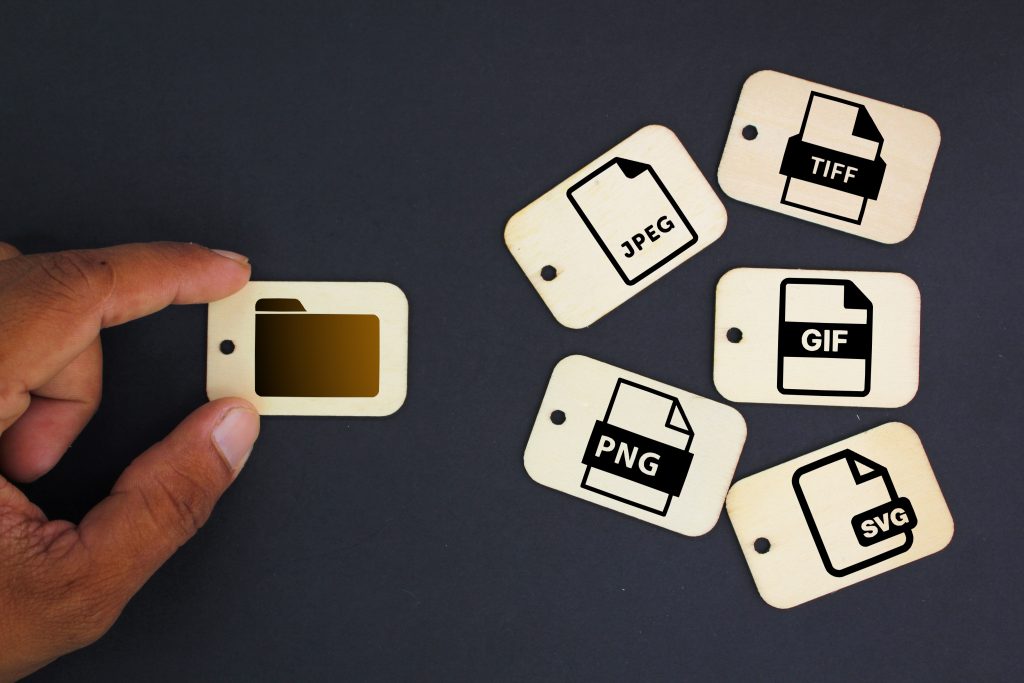
One of the most common questions we hear from first-time customers is about file formats. You’ve got your design ready, you’re excited to see it printed on shirts, but then comes the technical question: what file format do you actually need? The answer matters more than you might think. Submitting the wrong file format can delay your order, increase costs, or worse—result in a poor-quality print that doesn’t do your design justice. Let’s break down everything you need to know about file formats for printing so you can get it right the first time. Why File Format Matters for Screen Printing Screen printing is a precise process that requires clean, crisp artwork. Unlike simply uploading an image to social media, preparing files for physical printing demands specific technical requirements. The printer needs to separate your design into individual color layers, create screens for each color, and ensure every detail reproduces accurately on fabric. Using the correct file format ensures your design can be properly prepared for production without quality loss, color shifts, or unnecessary delays. It’s the foundation of getting professional results from your custom apparel project. Vector Files: The Gold Standard Vector files are the preferred format for screen printing, and for good reason. Unlike regular images made of pixels, vector graphics use mathematical paths and points to create shapes and lines. This means they can be scaled to any size—from business card to billboard—without any loss in quality. The most common vector formats are AI (Adobe Illustrator), EPS (Encapsulated PostScript), and PDF (when created from vector software). If your designer created your logo in Adobe Illustrator, CorelDRAW, or similar professional design software, you likely have access to vector files. Vector files make the color separation process seamless. Each color in your design exists as a distinct object that can be easily isolated for screen creation. This precision is especially important where clean edges and accurate color reproduction are essential. If you have vector files, you’re already ahead of the game. Submit them to your printer and you’ll avoid most common file-related issues. When Vector Files Aren’t Available: High-Resolution Raster Images Not everyone has access to vector files, and that’s okay. Photographs, complex illustrations, and designs created in programs like Photoshop are raster images made of pixels. While not ideal for all screen printing situations, high-resolution raster files can work perfectly fine when prepared correctly. The key word here is “high-resolution.” For screen printing, your raster images should be at least 300 DPI (dots per inch) at the actual size you want them printed. This is significantly higher resolution than what you see on websites or social media. Acceptable raster formats include PNG (preferred for its lossless compression and transparency support), TIFF (excellent for high-quality images), and PSD (Adobe Photoshop’s native format, which preserves layers). JPG files can work but are less ideal due to compression artifacts that can affect print quality. Here’s a practical example: if you want a 12-inch wide design on your shirt, your raster image should be at least 3,600 pixels wide (12 inches × 300 DPI). Anything smaller will result in a blurry or pixelated print. File Formats to Avoid Some file formats simply won’t work for professional screen printing. Low-resolution JPG files pulled from websites or social media are the most common culprits. These images might look fine on your phone or computer screen but will appear pixelated and unprofessional when enlarged for printing. GIF files are another problematic format. While they support transparency, GIFs are limited to 256 colors and are typically low resolution, making them unsuitable for quality production. Word documents, PowerPoint presentations, and other office files should never be submitted as final artwork. While your logo might be inserted into these documents, the embedded images are often low-resolution and the files themselves aren’t designed for print production. Screenshots, phone photos of existing shirts, and images copied from websites almost never have sufficient resolution for screen printing. If this is all you have, you’ll likely need to work with a designer to recreate the artwork properly. Understanding Color Modes: RGB vs CMYK vs Spot Colors File format is only part of the equation—color mode matters too. Computer screens display colors using RGB (red, green, blue), while most printing uses CMYK (cyan, magenta, yellow, black). However, screen printing often works with spot colors, particularly Pantone colors, which are premixed inks matched to standardized color swatches. If your design has specific brand colors that must match exactly, working with Pantone spot colors is your best approach. When you submit your files, specify the Pantone numbers for each color in your design. This ensures consistency across all your corporate & team apparel projects. For designs with multiple colors or photographic elements, CMYK or full-color printing methods like DTF & DTG transfers might be more appropriate than traditional screen printing. Discuss your color needs with your printer to determine the best approach. Transparency and Background Considerations When preparing your files, pay attention to backgrounds. For most screen printing applications, you want artwork with transparent backgrounds rather than white or colored backgrounds. PNG files support transparency, making them ideal when you can’t provide vector files. If you’re submitting a logo, make sure the background is truly transparent so it can be printed on any color shirt without an unwanted box or background color appearing. If your file has a white background instead of transparency, your printer will need to spend extra time removing it, potentially incurring additional art fees. Save time and money by submitting clean files with transparent backgrounds from the start. Text and Font Considerations If your design includes text, there are special considerations to keep in mind. When submitting vector files with text, always outline or convert your fonts to paths. This prevents font substitution issues if your printer doesn’t have the exact fonts you used installed on their system. For raster files, make sure all text is clearly legible at the print size. Small text (under 12 points) can be difficult to screen print cleanly, especially