
Vinyl Transfers vs. Screen Printing: Which Is Better for Your Project?
When it comes to decorating custom apparel, vinyl transfers and screen printing are two popular methods that each have passionate advocates. Both produce quality results, but they work very differently and excel in different situations. Choosing the wrong method can mean paying more than necessary, getting lower quality results, or facing limitations that don’t align with your needs. Understanding the key differences between these two decoration techniques helps you make informed decisions that balance quality, cost, and practicality. Let’s compare vinyl transfers and screen printing to help you determine which method is right for your specific project. How Screen Printing Works Screen printing is a traditional method that’s been perfecting apparel decoration for decades. The process involves creating a stencil (called a screen) for each color in your design. Ink is then pushed through these screens onto the fabric, with each color requiring a separate screen and application. The setup process takes time and has upfront costs, but once screens are created, printing each additional shirt becomes quick and inexpensive. This is why screen printing is ideal for larger quantities—the per-shirt cost drops significantly as order sizes increase. Screen printing produces vibrant, durable prints with excellent color saturation. The ink bonds with the fabric fibers, creating designs that can withstand hundreds of washes when properly cared for. For bulk orders with simple to moderate design complexity, screen printing remains the industry standard. However, screen printing has limitations. Each color requires a separate screen, making complex multi-color designs expensive. Very small orders (under 12-24 pieces) often aren’t economical because setup costs get divided among fewer items. Detailed designs with gradients or photographic elements can be challenging. How Vinyl Transfers Work Vinyl transfers take a completely different approach. Designs are cut from sheets of colored vinyl using a precision cutting machine. The excess vinyl is removed (a process called weeding), leaving only your design. This vinyl is then heat-pressed onto the garment, where it adheres permanently. There are different types of vinyl for different applications. Standard heat transfer vinyl (HTV) works for most apparel. Specialty vinyls include glitter, metallic, reflective, and flock (fuzzy texture) varieties that create unique visual effects impossible with screen printing. Vinyl transfers excel at small quantities, even single items. There’s minimal setup required—just design, cut, weed, and press. This makes vinyl perfect for custom names, numbers, one-off designs, or situations where you need just a few items quickly. Vinyl also works beautifully for layered designs where different colors stack on top of each other. Each color is simply another layer of vinyl, making multi-color designs no more complex than single-color ones (unlike screen printing where each color multiplies the work). The main limitations? Vinyl doesn’t work well for very detailed designs with small elements. Fine lines, tiny text, or intricate details are difficult or impossible to cut precisely. Vinyl also has a different feel than screen printing—it sits on top of the fabric rather than bonding into it, creating a slightly raised surface. Cost Comparison: When Each Method Makes Sense Pricing is often the deciding factor, and the most economical choice depends heavily on quantity. For orders of 1-10 pieces, vinyl transfers typically cost less because there are no setup fees. You’re paying for materials and labor to cut and press each design, but these costs are relatively fixed per piece. Screen printing for very small quantities (under 12-24 pieces) becomes expensive per item because setup costs—creating screens, mixing inks, setting up the press—get divided among fewer shirts. A design requiring four colors might have $100-150 in setup costs. Divided among 10 shirts, that’s $10-15 per shirt just for setup, before counting the actual printing or garment cost. As quantities increase, screen printing becomes increasingly cost-effective. At 50 pieces, setup costs drop to $2-3 per shirt. At 100 pieces, they’re just $1-1.50 per shirt. The actual printing cost per shirt is also lower than vinyl, often $2-5 depending on the number of colors. Vinyl costs remain relatively consistent regardless of quantity. Whether you’re making 5 shirts or 50, the per-piece cost stays similar—typically $5-12 per design depending on size and complexity. This consistency makes budgeting easy but means vinyl doesn’t offer quantity discounts like screen printing does. The crossover point where screen printing becomes cheaper than vinyl is typically around 12-24 pieces, though this varies based on design complexity and number of colors. Working with a trusted custom apparel provider who offers both methods ensures you get honest recommendations about which approach saves you money. Design Complexity and Limitations Screen printing handles most design types well. Simple logos with 1-4 solid colors are perfect. More complex designs with gradients or many colors are possible but increase costs with each additional screen required. Extremely detailed artwork or photographic images work better with DTF & DTG transfers than traditional screen printing. Vinyl transfers work best for bold, simple designs with clean edges. Text, names, numbers, and geometric shapes are ideal for vinyl. The cutting process can handle moderate detail, but there are limits—very thin lines (under about 1/16 inch) or tiny text may not cut cleanly. Intricate designs with many small elements become tedious to weed and may not be worth the labor involved. For designs requiring many colors, screen printing and vinyl have opposite cost structures. Screen printing costs more with each additional color, while vinyl’s cost is primarily driven by the total size of the design rather than the number of colors. A design with eight colors might be expensive to screen print but relatively straightforward with layered vinyl. Specialty effects differ between methods too. Screen printing can create unique effects like puff ink (raised, dimensional printing), discharge printing (removing garment color for a soft print), or specialty inks like metallic or glow-in-the-dark. Vinyl offers its own special effects—glitter, holographic, reflective, or textured vinyls create looks that screen printing can’t match. Durability and Longevity Both methods produce durable results when done correctly, but the wear patterns differ. Screen printed designs integrate with the fabric fibers, creating prints
Screen Printing vs DTG: Which Method Is Right for Your Custom Shirts?
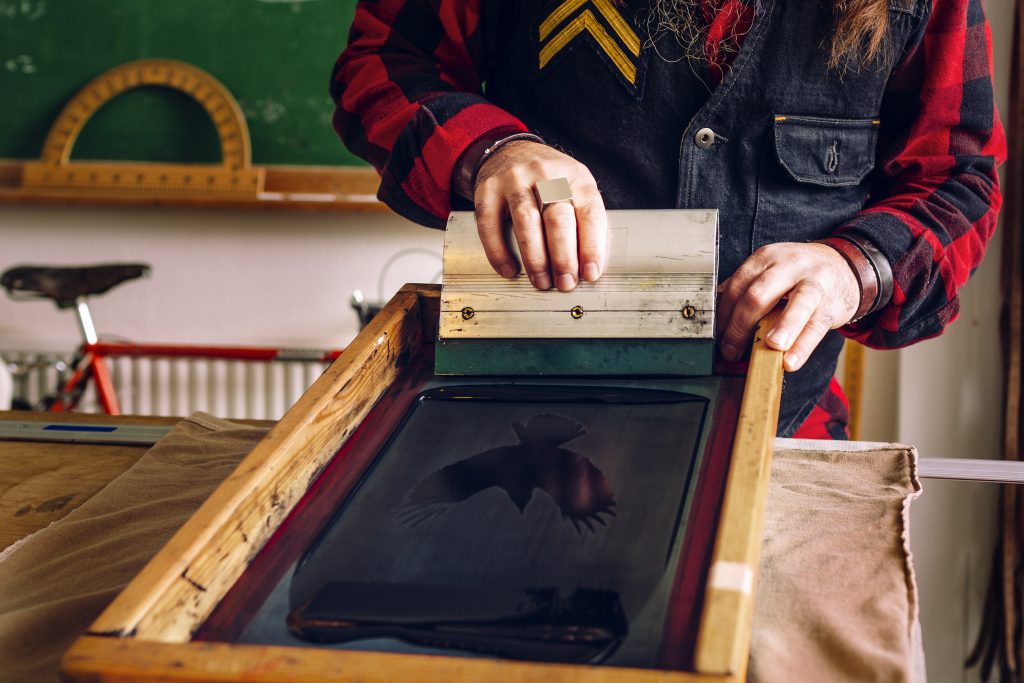
When it comes to creating custom t-shirts, choosing between screen printing and direct-to-garment (DTG) printing can feel overwhelming. Both methods produce quality results, but they work best in different situations. Understanding the key differences will help you make the right choice for your project and budget. What Is Screen Printing? Screen printing is a traditional printing method that’s been around for centuries. The process involves creating a stencil (or “screen”) for each color in your design, then pushing ink through the screen onto the fabric. Each color requires a separate screen, which is why screen printing works best for designs with fewer colors. This method is ideal for large orders because once the screens are created, printing each shirt becomes quick and cost-effective. The setup process takes time and has upfront costs, but the per-shirt price drops significantly as your order quantity increases. What Is DTG Printing? Direct-to-garment printing is the newer technology on the block. Think of it as a sophisticated inkjet printer designed specifically for fabric. The printer sprays water-based ink directly onto the garment, allowing for incredibly detailed, full-color designs without any setup screens. DTG printing excels at reproducing complex artwork, photographs, and designs with unlimited colors or gradients. There’s minimal setup involved, making it perfect for small batches or even single shirts. Comparing Quality and Durability Both methods produce professional results, but the finish differs. Screen printing creates a thicker ink layer that sits on top of the fabric, giving you that classic, slightly raised feel. The colors are vibrant and bold, and with proper care, screen-printed shirts can last for years without significant fading. DTG prints absorb into the fabric fibers, creating a softer feel that’s barely noticeable to the touch. The print is smooth and won’t crack or peel. However, DTG prints may fade slightly faster than screen prints, especially on darker garments, though modern DTG technology has improved dramatically in recent years. Cost Considerations: When Does Each Method Make Sense? Here’s where the decision often becomes clear. Screen printing has higher setup costs because of the screen creation process. If you’re only ordering 10 shirts, those setup costs get divided among fewer items, making each shirt more expensive. However, for orders of 50, 100, or more shirts, screen printing becomes significantly more affordable per piece. DTG printing has minimal setup costs, making it economical for small batch orders or one-off designs. Need just 5 shirts for your team? DTG is likely your best bet. Planning to outfit an entire company or sell merchandise? Screen printing will save you money. As a general rule: orders under 25 shirts typically cost less with DTG, while orders over 50 shirts are usually cheaper with screen printing. The 25-50 range is the sweet spot where both methods compete on price. Design Complexity and Color Count If your design has 1-3 solid colors with clean edges, screen printing is perfect. The process handles bold, simple graphics beautifully. However, each additional color adds another screen and increases costs. DTG shines with complex designs. Have a photograph? Intricate artwork with dozens of colors? Gradients or subtle shading? DTG handles these without breaking a sweat or increasing the price. With custom apparel printing, you’re not charged per color with DTG—a design with 2 colors costs the same as one with 200 colors. Fabric Type and Garment Color Screen printing works on virtually any fabric and any garment color. It’s particularly effective on darker fabrics because the ink sits on top and provides excellent coverage. DTG works best on 100% cotton or high cotton-blend fabrics. While it can print on dark garments, it requires a white underbase layer first, which can affect the softness and may increase costs. DTG truly excels on white or light-colored shirts where the colors can really pop. Turnaround Time Once screens are created, screen printing can produce hundreds of shirts quickly. However, that initial setup takes time. If you need rush custom t-shirts, the method you choose matters. DTG requires no screen setup, so small orders can often be completed faster. However, each shirt takes several minutes to print, so very large DTG orders may take longer than screen printing large quantities. Which Method Should You Choose? Choose screen printing if you: Choose DTG printing if you: Can You Combine Both Methods? Absolutely! Many businesses use screen printing for their main product line or large events, then turn to DTG for custom printed apparel samples, limited editions, or special requests. There’s no rule that says you must commit to just one method forever. FAQ Can screen printing do full-color designs? Screen printing can technically reproduce full-color designs, but it becomes impractical and expensive. Each color requires a separate screen, so a design with 10+ colors would need 10+ screens, making DTG the better choice for complex, colorful artwork. How long do DTG prints last? With proper care (washing inside-out in cold water and avoiding high-heat drying), DTG prints can last for years. Modern DTG inks have improved significantly and offer excellent durability, though screen printing still has a slight edge in longevity. Is there a minimum order quantity for screen printing? Most screen printing services have minimum order quantities, typically ranging from 12 to 50 pieces, because of the setup costs involved. However, minimums vary by printer, so it’s worth asking. Which method is better for small businesses just starting out? DTG is often ideal for startups because it allows you to test designs and offer variety without committing to large inventory. You can print on-demand as orders come in, reducing upfront investment and storage needs. Ready to bring your custom shirt ideas to life? Whether you need screen printing for your bulk order or DTG for a special design, our team can help you choose the right method for your project. Call us today or fill out our online inquiry form to get a free quote on your custom t-shirt printing needs. With expert guidance from HT Custom Designs, we can create something great together!
What File Format Do I Need for Screen Printing? A Complete Guide
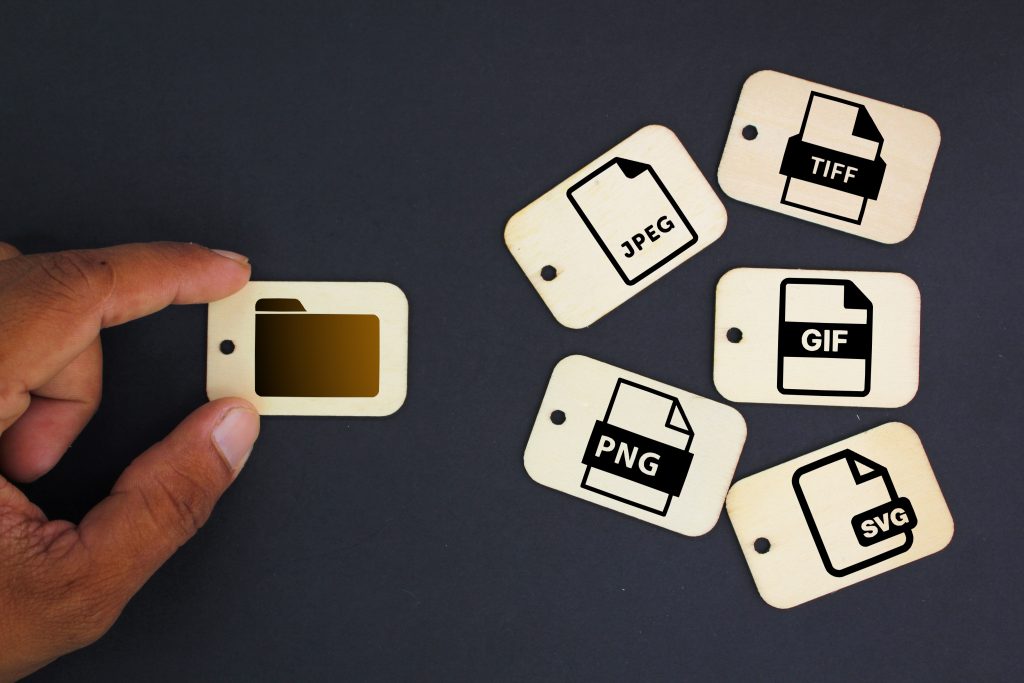
One of the most common questions we hear from first-time customers is about file formats. You’ve got your design ready, you’re excited to see it printed on shirts, but then comes the technical question: what file format do you actually need? The answer matters more than you might think. Submitting the wrong file format can delay your order, increase costs, or worse—result in a poor-quality print that doesn’t do your design justice. Let’s break down everything you need to know about file formats for printing so you can get it right the first time. Why File Format Matters for Screen Printing Screen printing is a precise process that requires clean, crisp artwork. Unlike simply uploading an image to social media, preparing files for physical printing demands specific technical requirements. The printer needs to separate your design into individual color layers, create screens for each color, and ensure every detail reproduces accurately on fabric. Using the correct file format ensures your design can be properly prepared for production without quality loss, color shifts, or unnecessary delays. It’s the foundation of getting professional results from your custom apparel project. Vector Files: The Gold Standard Vector files are the preferred format for screen printing, and for good reason. Unlike regular images made of pixels, vector graphics use mathematical paths and points to create shapes and lines. This means they can be scaled to any size—from business card to billboard—without any loss in quality. The most common vector formats are AI (Adobe Illustrator), EPS (Encapsulated PostScript), and PDF (when created from vector software). If your designer created your logo in Adobe Illustrator, CorelDRAW, or similar professional design software, you likely have access to vector files. Vector files make the color separation process seamless. Each color in your design exists as a distinct object that can be easily isolated for screen creation. This precision is especially important where clean edges and accurate color reproduction are essential. If you have vector files, you’re already ahead of the game. Submit them to your printer and you’ll avoid most common file-related issues. When Vector Files Aren’t Available: High-Resolution Raster Images Not everyone has access to vector files, and that’s okay. Photographs, complex illustrations, and designs created in programs like Photoshop are raster images made of pixels. While not ideal for all screen printing situations, high-resolution raster files can work perfectly fine when prepared correctly. The key word here is “high-resolution.” For screen printing, your raster images should be at least 300 DPI (dots per inch) at the actual size you want them printed. This is significantly higher resolution than what you see on websites or social media. Acceptable raster formats include PNG (preferred for its lossless compression and transparency support), TIFF (excellent for high-quality images), and PSD (Adobe Photoshop’s native format, which preserves layers). JPG files can work but are less ideal due to compression artifacts that can affect print quality. Here’s a practical example: if you want a 12-inch wide design on your shirt, your raster image should be at least 3,600 pixels wide (12 inches × 300 DPI). Anything smaller will result in a blurry or pixelated print. File Formats to Avoid Some file formats simply won’t work for professional screen printing. Low-resolution JPG files pulled from websites or social media are the most common culprits. These images might look fine on your phone or computer screen but will appear pixelated and unprofessional when enlarged for printing. GIF files are another problematic format. While they support transparency, GIFs are limited to 256 colors and are typically low resolution, making them unsuitable for quality production. Word documents, PowerPoint presentations, and other office files should never be submitted as final artwork. While your logo might be inserted into these documents, the embedded images are often low-resolution and the files themselves aren’t designed for print production. Screenshots, phone photos of existing shirts, and images copied from websites almost never have sufficient resolution for screen printing. If this is all you have, you’ll likely need to work with a designer to recreate the artwork properly. Understanding Color Modes: RGB vs CMYK vs Spot Colors File format is only part of the equation—color mode matters too. Computer screens display colors using RGB (red, green, blue), while most printing uses CMYK (cyan, magenta, yellow, black). However, screen printing often works with spot colors, particularly Pantone colors, which are premixed inks matched to standardized color swatches. If your design has specific brand colors that must match exactly, working with Pantone spot colors is your best approach. When you submit your files, specify the Pantone numbers for each color in your design. This ensures consistency across all your corporate & team apparel projects. For designs with multiple colors or photographic elements, CMYK or full-color printing methods like DTF & DTG transfers might be more appropriate than traditional screen printing. Discuss your color needs with your printer to determine the best approach. Transparency and Background Considerations When preparing your files, pay attention to backgrounds. For most screen printing applications, you want artwork with transparent backgrounds rather than white or colored backgrounds. PNG files support transparency, making them ideal when you can’t provide vector files. If you’re submitting a logo, make sure the background is truly transparent so it can be printed on any color shirt without an unwanted box or background color appearing. If your file has a white background instead of transparency, your printer will need to spend extra time removing it, potentially incurring additional art fees. Save time and money by submitting clean files with transparent backgrounds from the start. Text and Font Considerations If your design includes text, there are special considerations to keep in mind. When submitting vector files with text, always outline or convert your fonts to paths. This prevents font substitution issues if your printer doesn’t have the exact fonts you used installed on their system. For raster files, make sure all text is clearly legible at the print size. Small text (under 12 points) can be difficult to screen print cleanly, especially